Android Platform Guide
This guide shows how to set up your SDK development environment to deploy Cordova apps for Android devices. See the following for more detailed platform-specific information:
The command-line tools above refer to versions prior to Cordova 3.0. See The Command-line Interface for information about the current interface.
Requirements and Support
Cordova for Android requires the Android SDK. See the Android SDK's System Requirements.
Cordova supports Android 2.3.x (Gingerbread, starting with Android API level 10) and 4.x. As a general rule, Android versions become unsupported by Cordova as they dip below 5% on Google's distribution dashboard. Android versions earlier than API level 10, and the 3.x versions (Honeycomb, API levels 11-13) fall significantly below that 5% threshold.
Developers should use the cordova utility in conjunction with
the Android SDK. See The Command-line Interface for
information how to install it, add projects, then build and deploy a
project.
Install the SDK
Install the Android SDK from
developer.android.com/sdk. You
may be presented with a choice of where to install the SDK, otherwise
move the downloaded adt-bundle tree to wherever you store
development tools.
For Cordova command-line tools to work, you need to include the SDK's
tools and platform-tools directories in your PATH environment. On
Mac, you can use a text editor to create or modify the
~/.bash_profile file, adding a line such as the following, depending
on where the SDK installs:
export PATH=${PATH}:/Development/adt-bundle/sdk/platform-tools:/Development/adt-bundle/sdk/tools
This exposes SDK tools in newly opened terminal windows. Otherwise run this to make them available in the current session:
$ source ~/.bash_profile
To modify the PATH environment on Windows 7:
-
Click on the Start menu in the lower-left corner of the desktop, right-click on Computer, then click Properties.
-
Click Advanced System Settings in the column on the left.
-
In the resulting dialog box, press Environment Variables.
-
Select the PATH variable and press Edit.
-
Append the following to the PATH based on where you installed the SDK, for example:
;C:\Development\adt-bundle\sdk\platform-tools;C:\Development\adt-bundle\sdk\tools -
Save the value and close both dialog boxes.
You may also need to enable Java and Ant. Open a command prompt and
type java, and also type ant. Append to the PATH whichever fail to
run:
;%JAVA_HOME%\bin;%ANT_HOME%\bin
Open a Project in the SDK
Use the cordova utility to set up a new project, as described in The
Cordova The Command-line Interface. For example, in a source-code directory:
    $ cordova create hello com.example.hello "HelloWorld"
    $ cd hello
    $ cordova platform add android
    $ cordova build
Once created, here's how to use the SDK to modify it:
-
Launch the Eclipse application.
-
Select the New Project menu item.
-
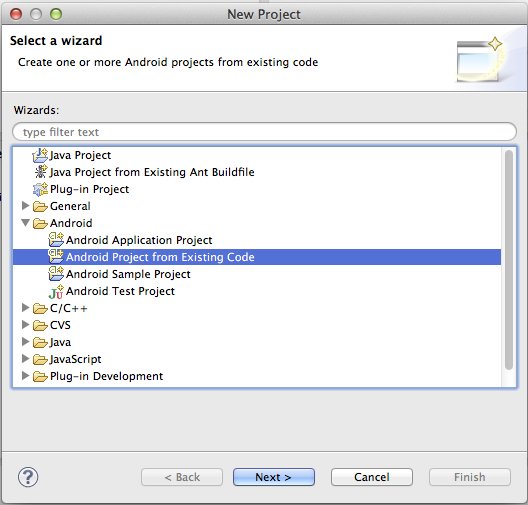
Choose Android Project from Existing Code from the resulting dialog box, and press Next:
-
Navigate to
hello, or whichever directory you created for the project, then to theplatforms/androidsubdirectory. -
Press Finish.
Once the Eclipse window opens, a red X may appear to indicate unresolved problems. If so, follow these additional steps:
-
Right-click on the project directory.
-
In the resulting Properties dialog, select Android from the navigation pane.
-
For the project build target, select the highest Android API level you have installed.
-
Click OK.
-
Select Clean from the Project menu. This should correct all the errors in the project.
Deploy to Emulator
You can use the cordova utility to run an app in an emulator, or you
can run it within the SDK. Either way, the SDK must first be
configured to display at least one device. To do so, use the Android
SDK Manager, a Java application that runs separately from Eclipse.
There are two ways to open it:
-
Run
androidon the command line. -
From within Eclipse, press this toolbar icon:

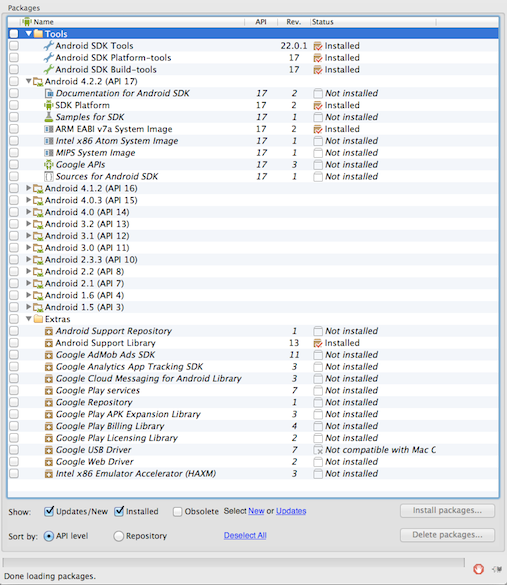
Once open, the Android SDK Manager displays various runtime libraries:
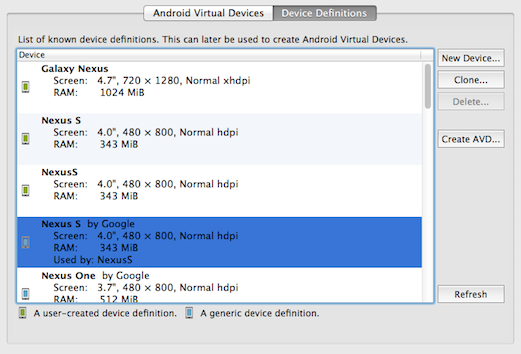
Choose Tools → Manage AVDs (Android Virtual Devices), then choose any item from Device Definitions in the resulting dialog box:
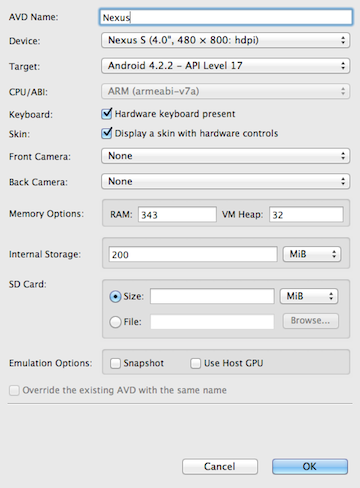
Press Create AVD, optionally modifying the name, then press OK to accept the changes:
The AVD then appears in the Android Virtual Devices list:
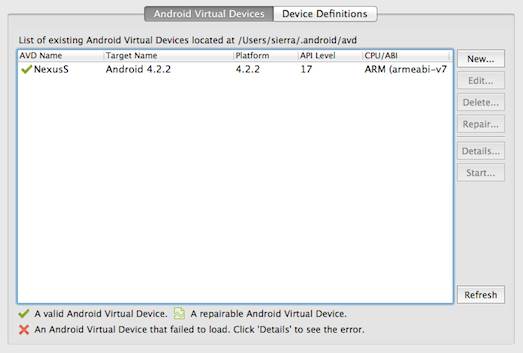
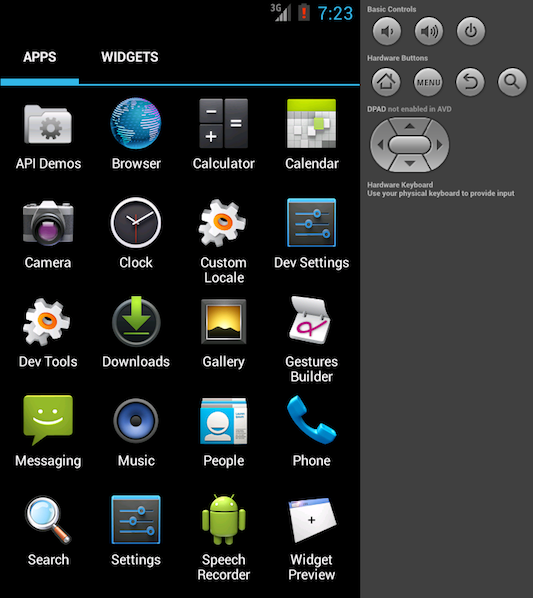
To open the emulator as a separate application, select the AVD and press Start. It launches much as it would on the device, with additional controls available for hardware buttons:
At this point you can use the cordova utility to deploy the
application to the emulator from the command line:
$ cordova emulate android
If instead you are working within Eclipse, right-click the project and choose Run As → Android Application. You may be asked to specify an AVD if none are already open.
For a faster experience, use an Intel-based emulator image:
-
Install one or more
Intel x86 AtomSystem Images as well as theIntel Hardware Accelerated Execution Manager, available under Extras. -
Run the Intel installer, which is available within your Android SDK at
extras/intel/Hardware_Accelerated_Execution_Manager. -
Create a new AVD with the target set to an Intel image.
-
When starting the emulator, ensure there are no error messages indicating a failure to load HAX modules.
Deploy to Device
To push an app directly to the device, make sure USB debugging is enabled on your device as described on the Android Developer Site, and use a mini USB cable to plug it into your system.
You can push the app to the device from the command line:
$ cordova run android
Alternately within Eclipse, right-click the project and choose Run As → Android Application.